


How to create a SSH proxy and get around a web blocking on a firewall with a free AWS account
We will create a free AWS account and use a free tier linux server, some SSH software, and a webbrowser to get around website restrictions. You will need to validate the AWS account with a credit card but so long as you don’t exceed 750 hours per month (744 per month at 24x7x31 days) you wont get billed. Be careful not to start a second instance.
1. Go to https://aws.amazon.com and create an account. You will need to validate it with a credit card.

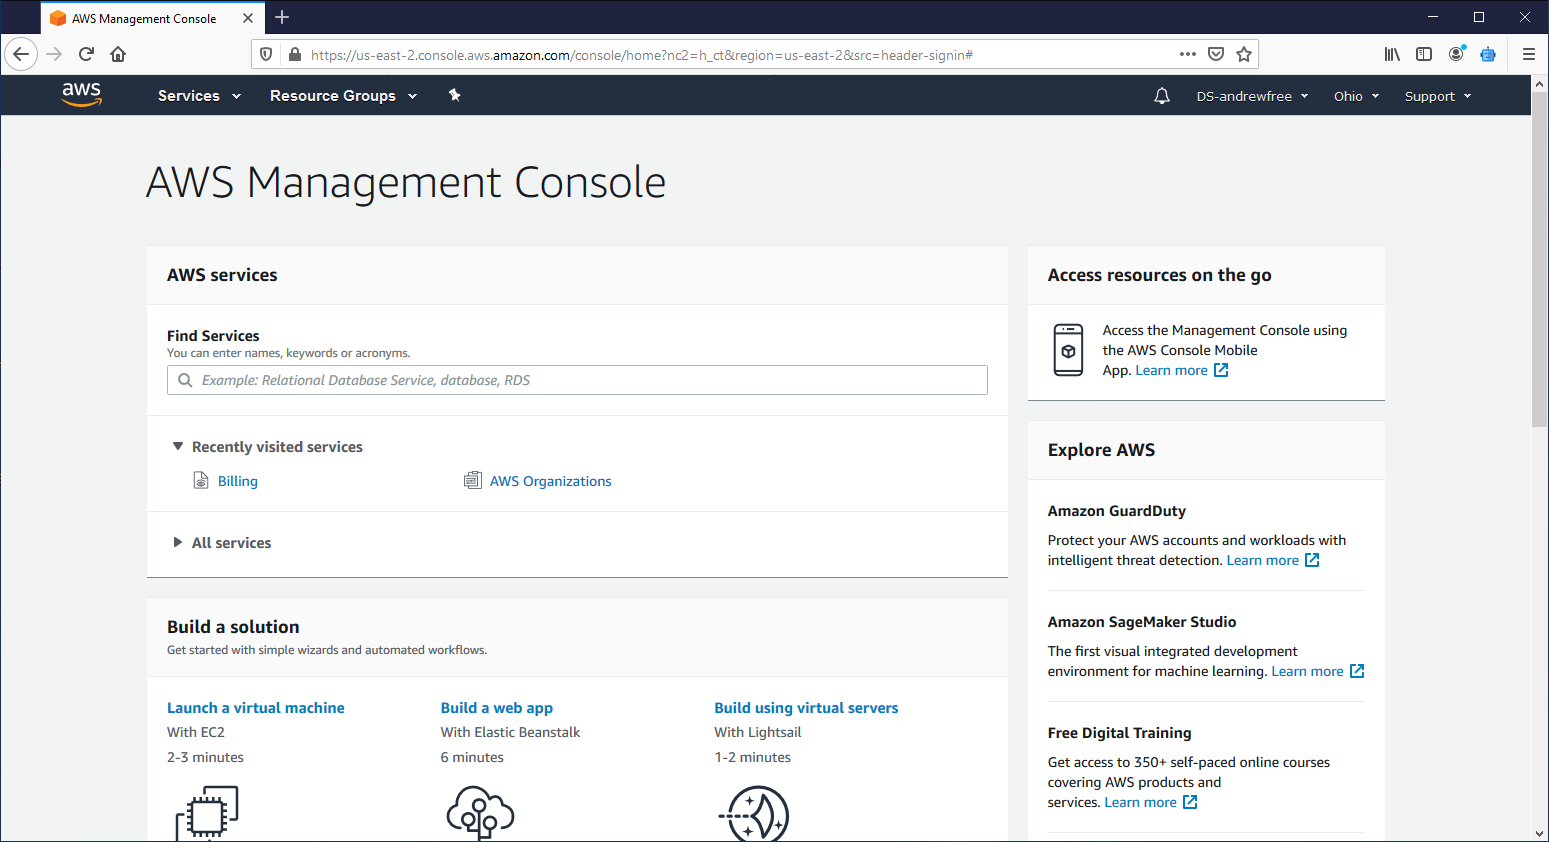
2. Once you log in with your free account you will be at the AWS management console:
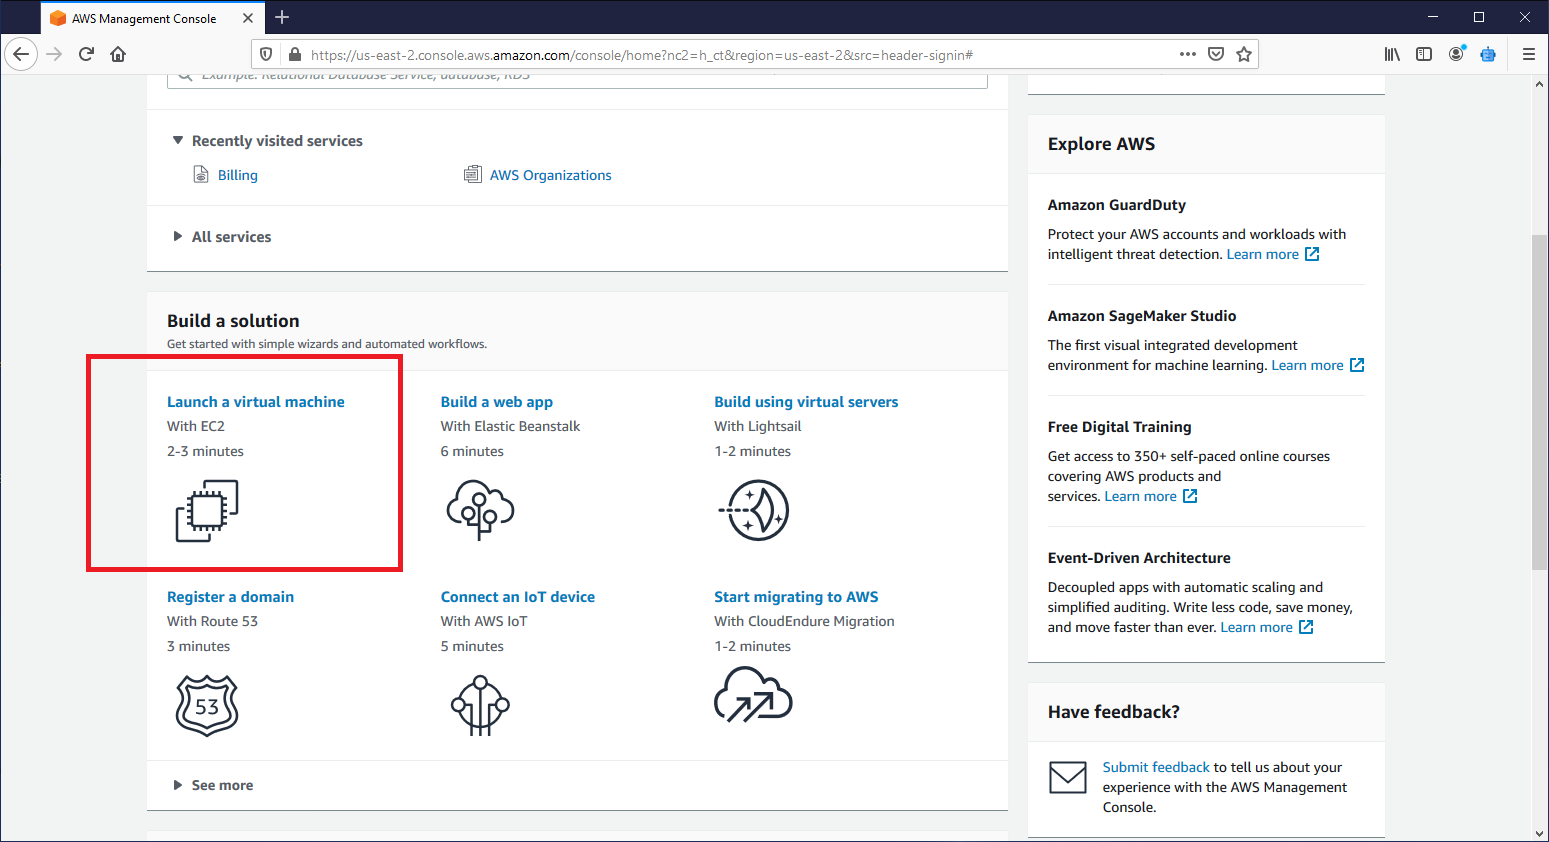
3. Scroll down until you find “launch a virtual machine” and select it:
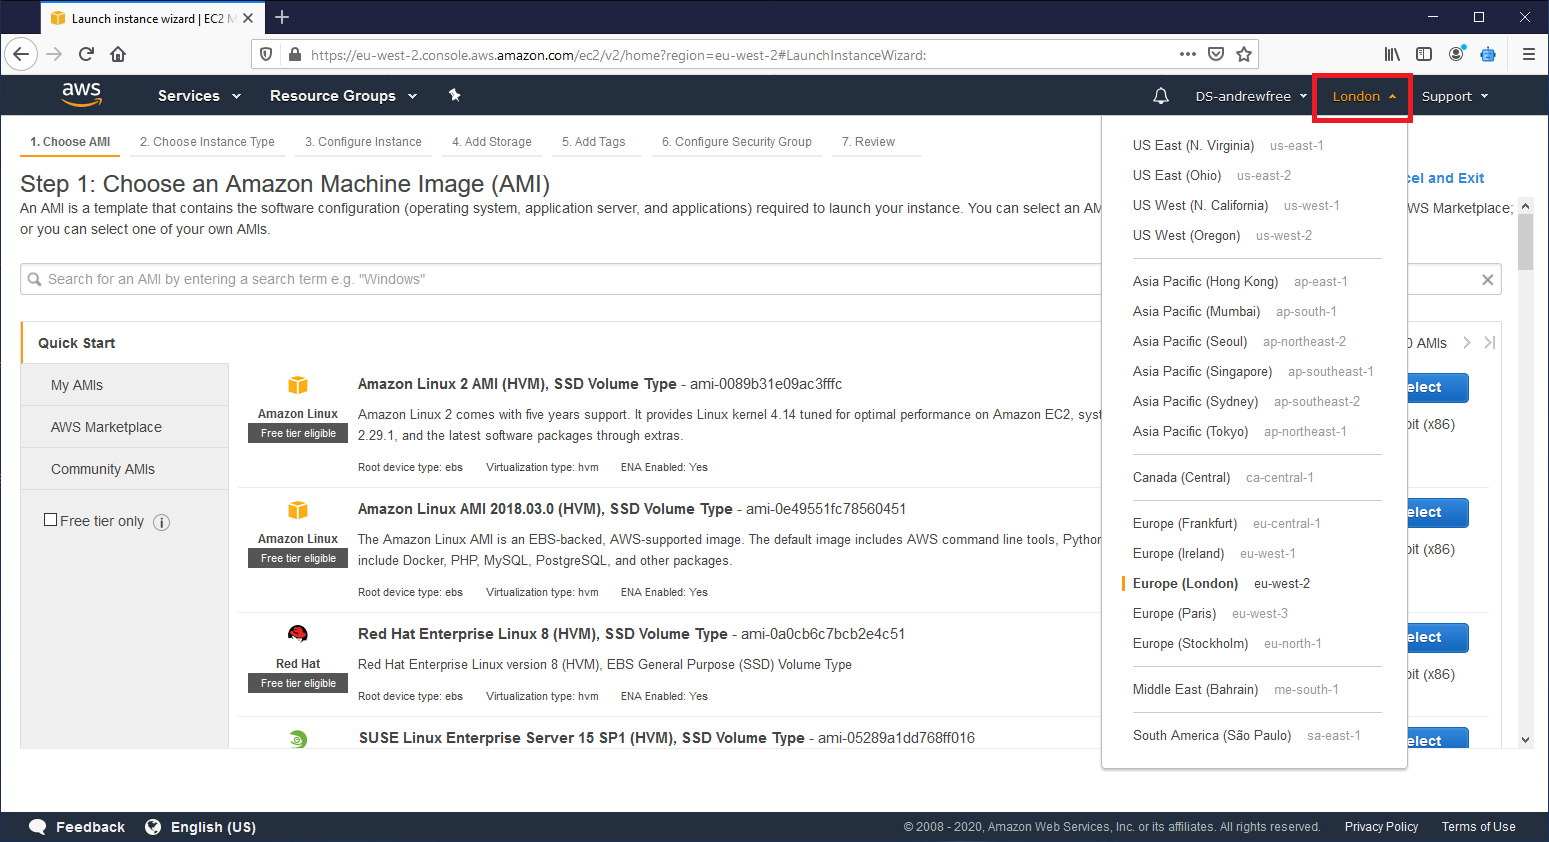
4. Change the zone you want up at the top right. Depending on what your default is it may say “Ohio” or “N. Virginia” for many people. I switched mine to “London” for the example here
5. Select the Red Hat Enterprise Linux 8 (RHEL8 for short)
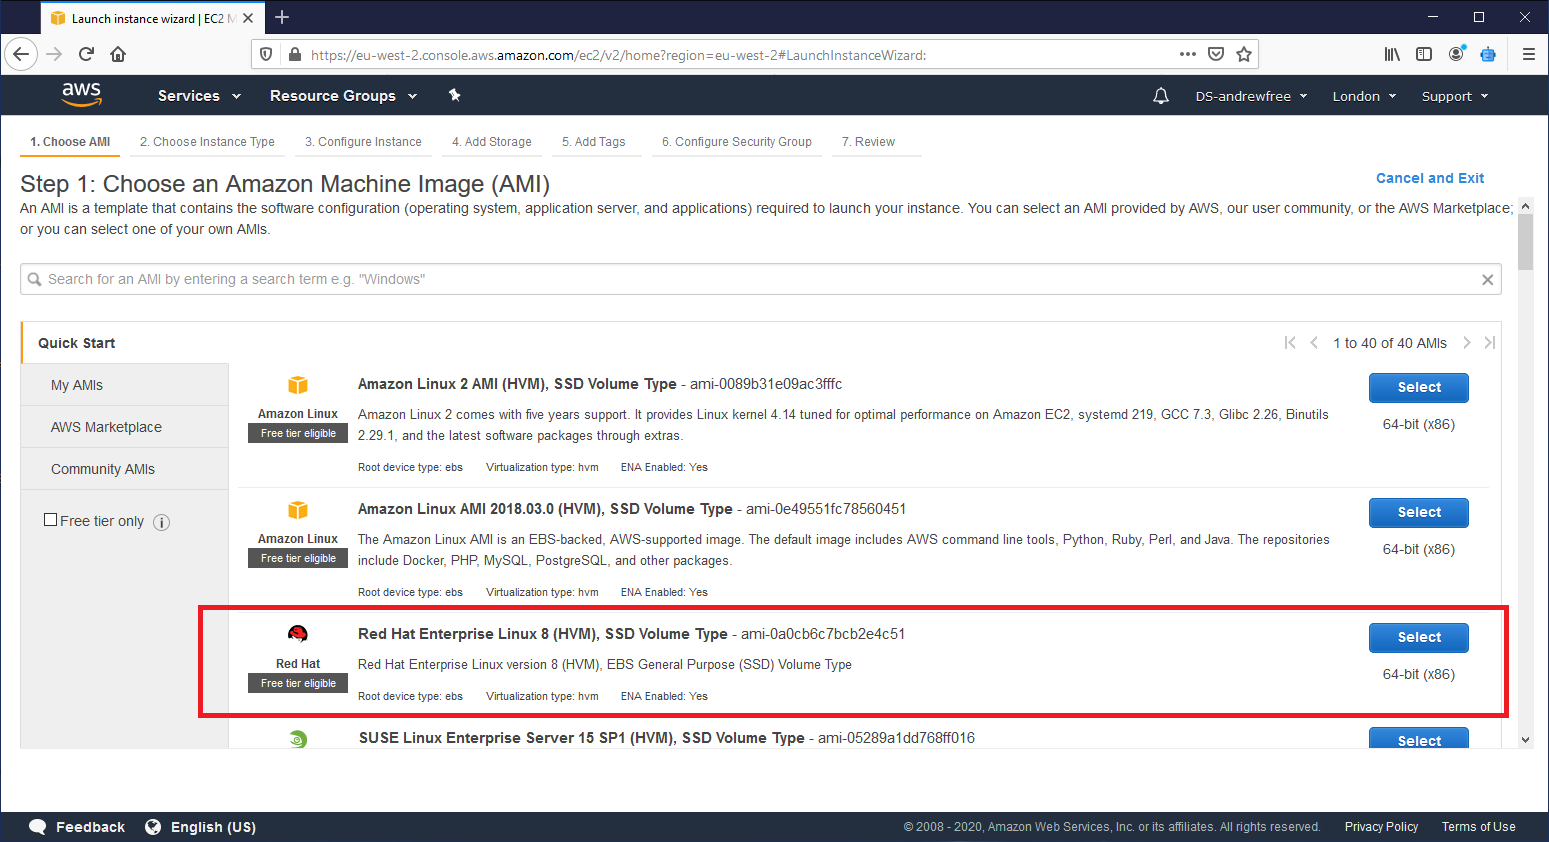
You can choose any of the others but my familiarity is with RHEL so I chose it. Depending on the zone you may also be given a choice between x86 and x64 with a radio button selector.
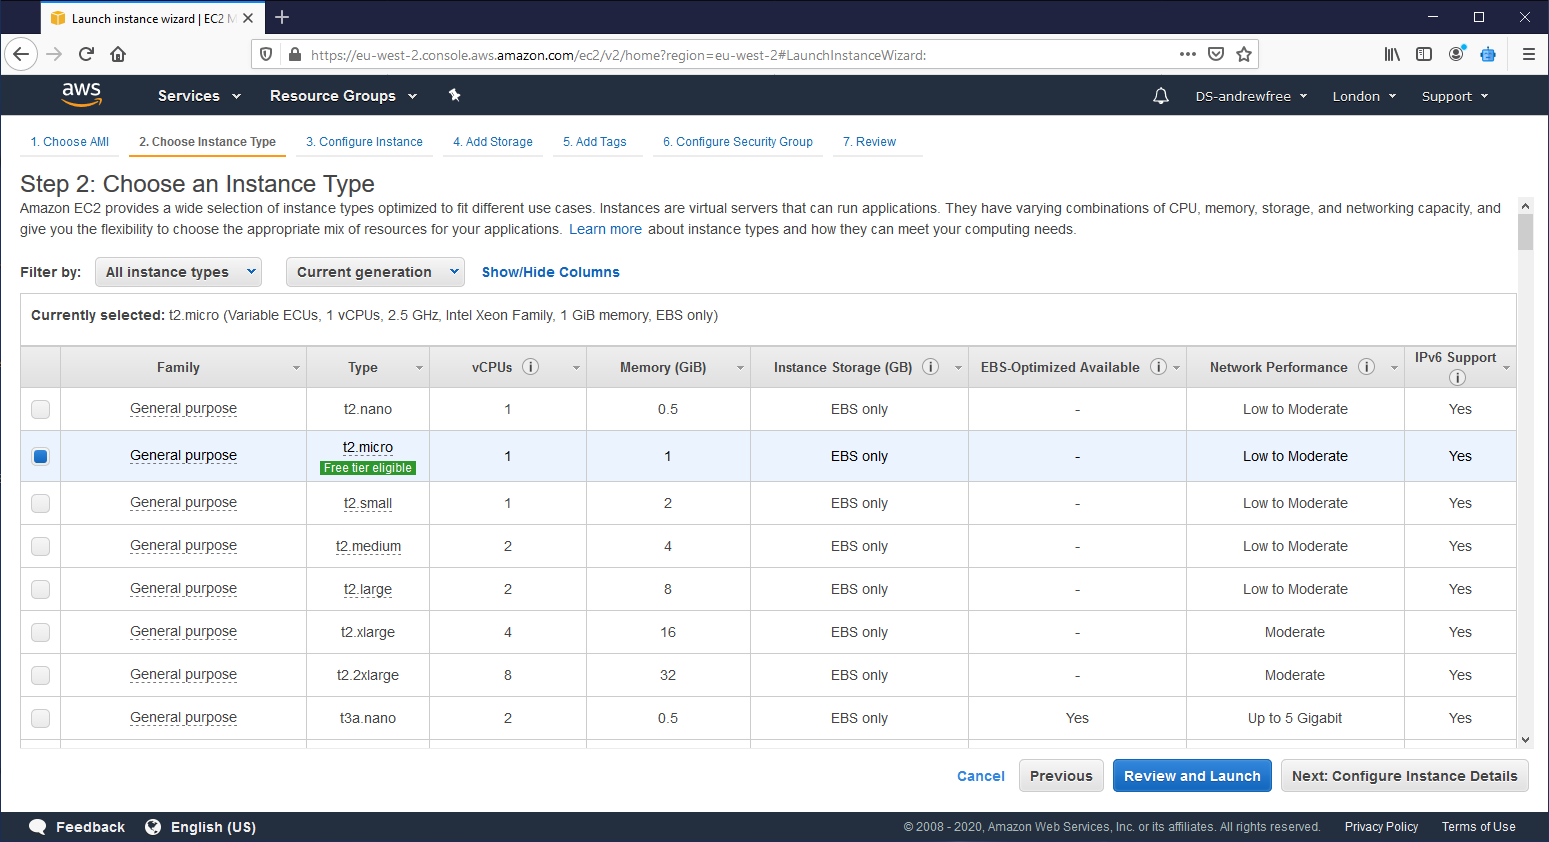
6. You will want to select the t2.micro instance on the next page and then hit “Review and Launch” at the bottom. It will have the green “Free Tier” below its name
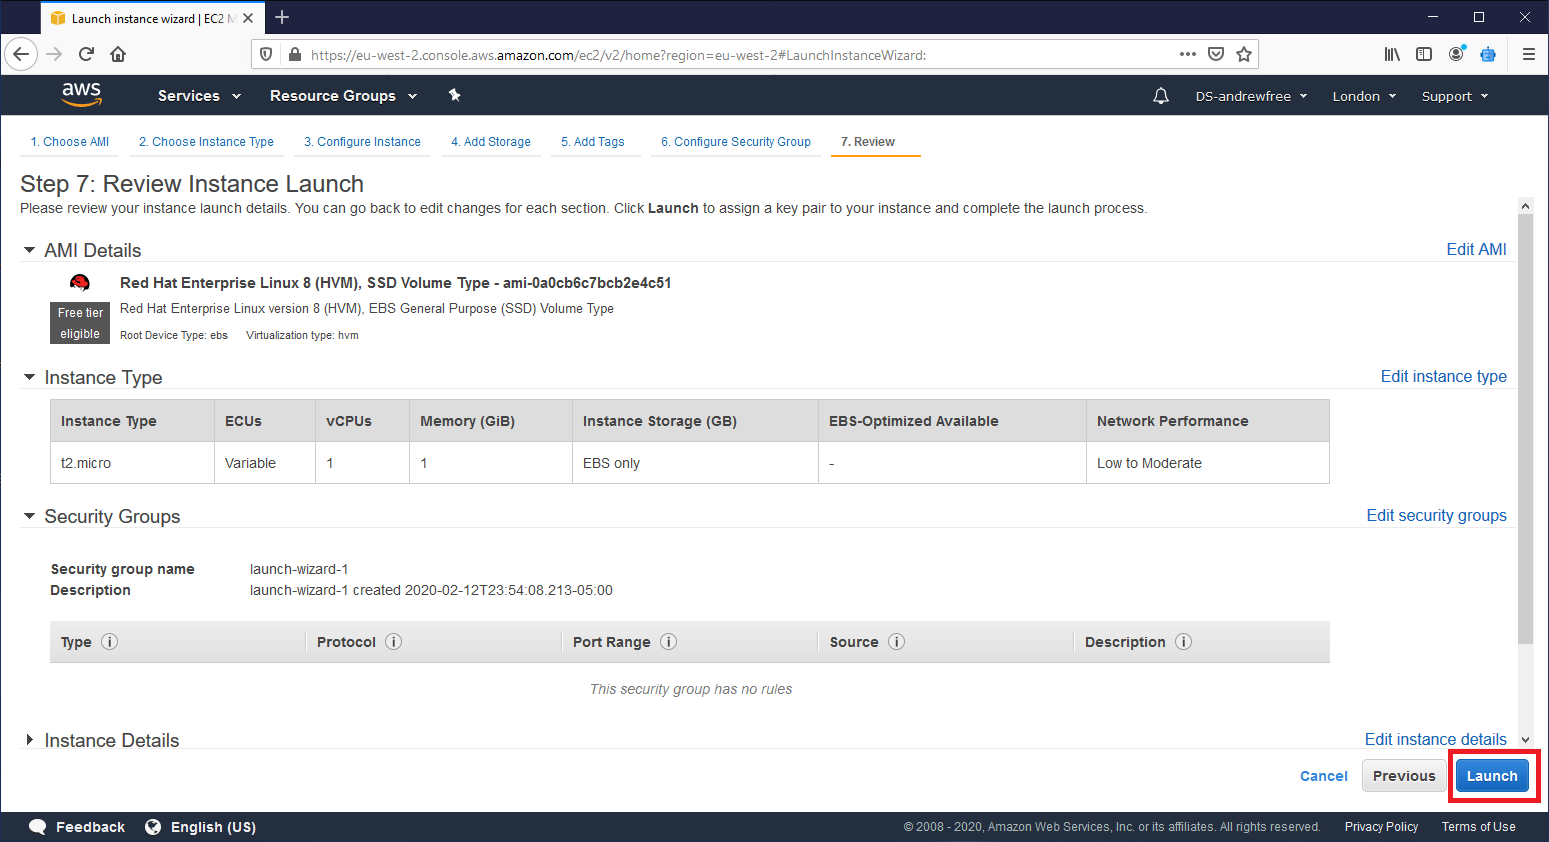
7. This will then take you to the review page before launching it. We can discuss security groups in another blog post but right now it will allow inbound SSH from anywhere and allow any traffic out which is the important part.9)
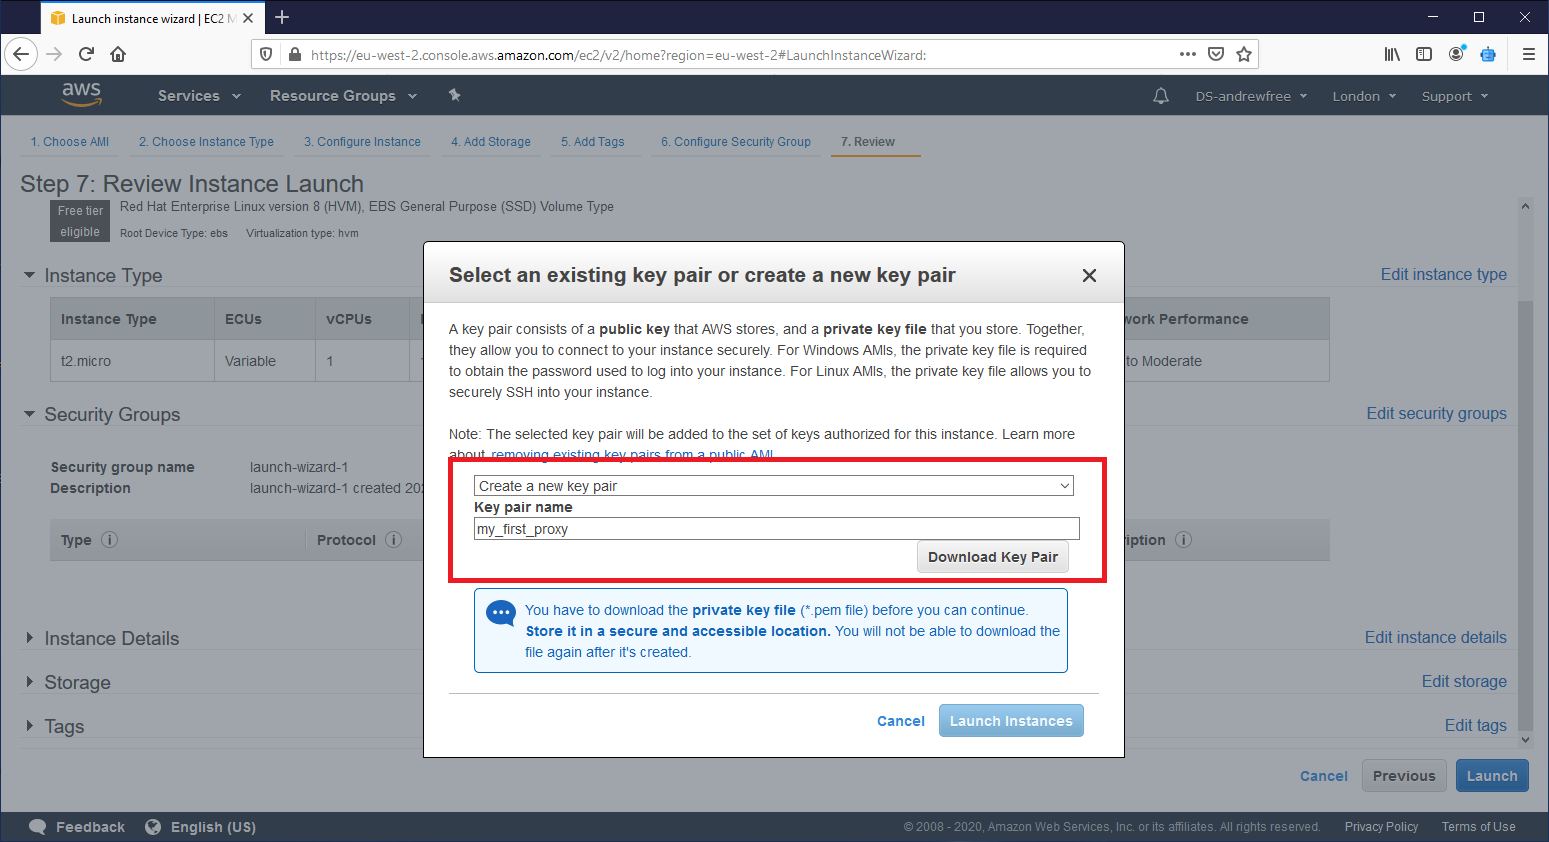
8. Now you have to choose a keypair. Since this is a new account you wont have one so change it from “choose an existing key pair” and switch it to “Create a new key pair” and type in a keypair name. I put mine in as “my_first_proxy” DON’T LOSE THIS KEYPAIR OR YOU CANT GET INTO THE BOX!

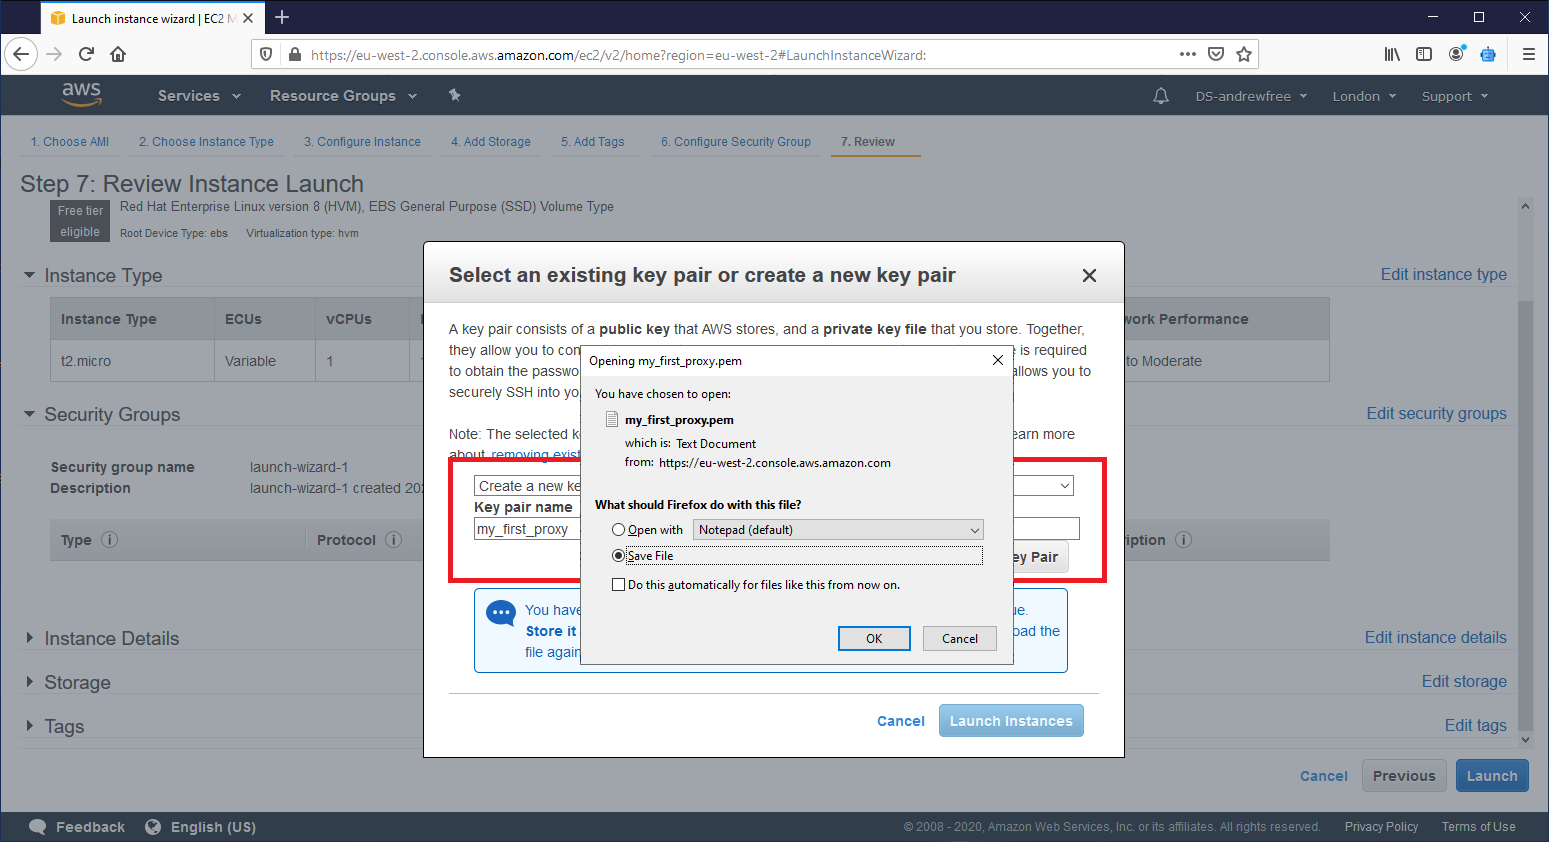
9. Save the keypair, don’t just open it
10. Hit the “Launch Instance” button
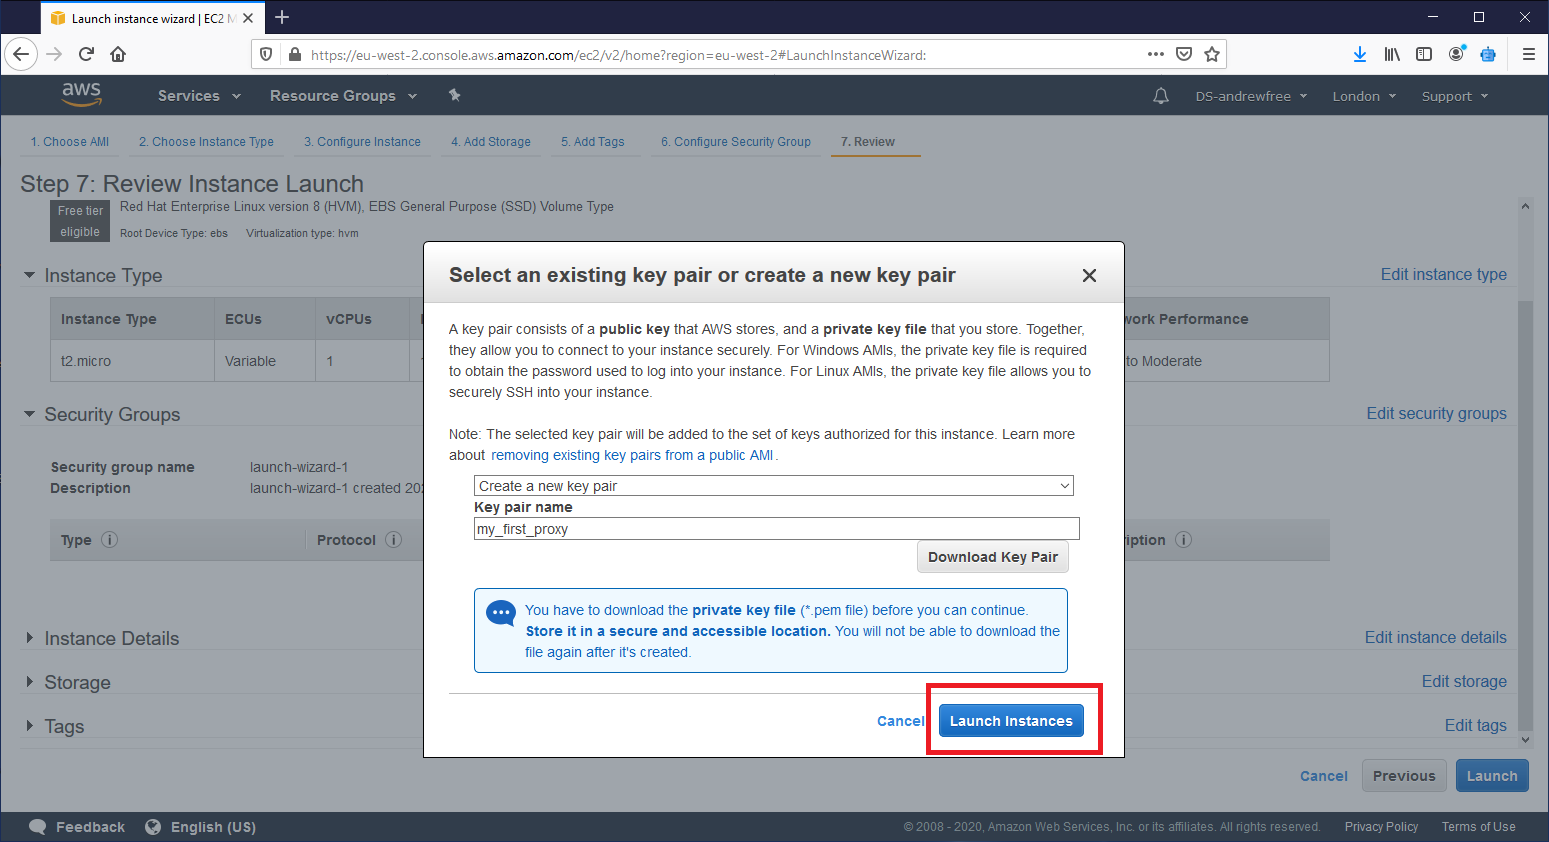
11. You will now see that the instance is launching. You can click on the instance that it just initialized.
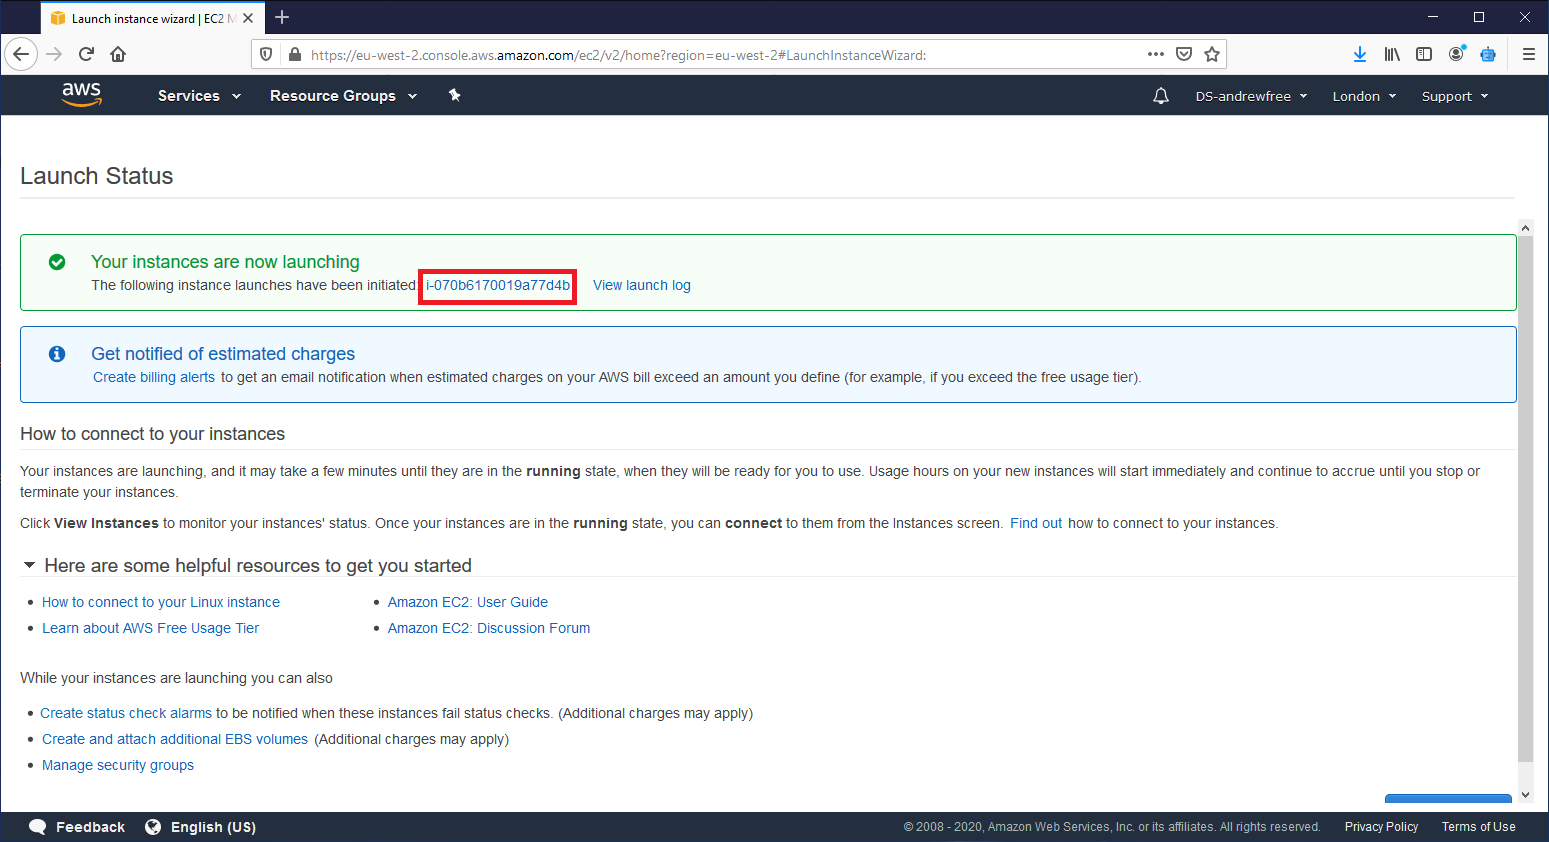
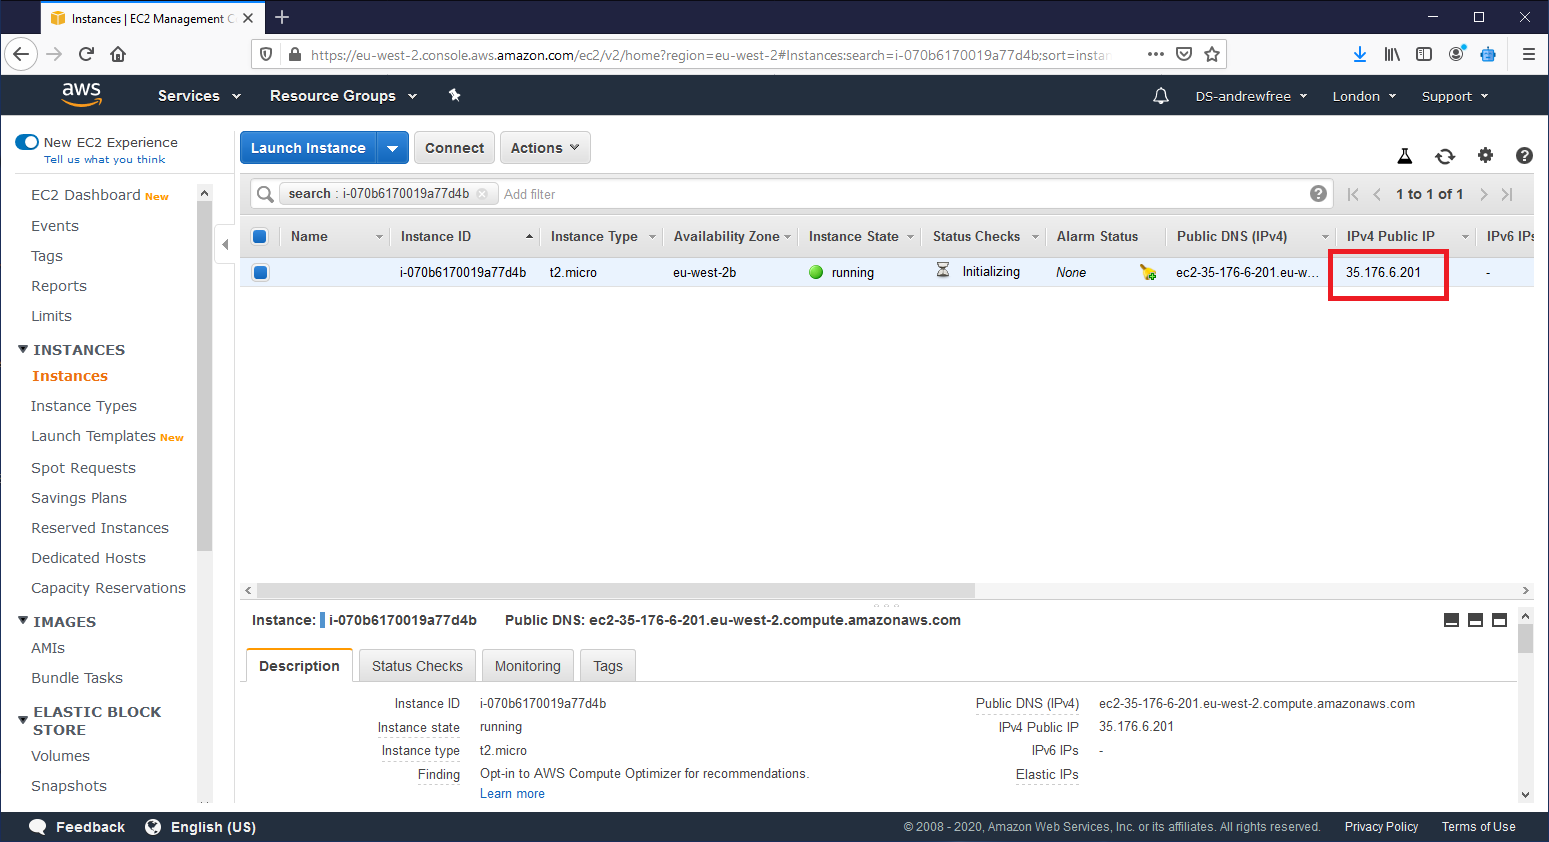
12. You should now see the instance that is running with its public IP and other information:
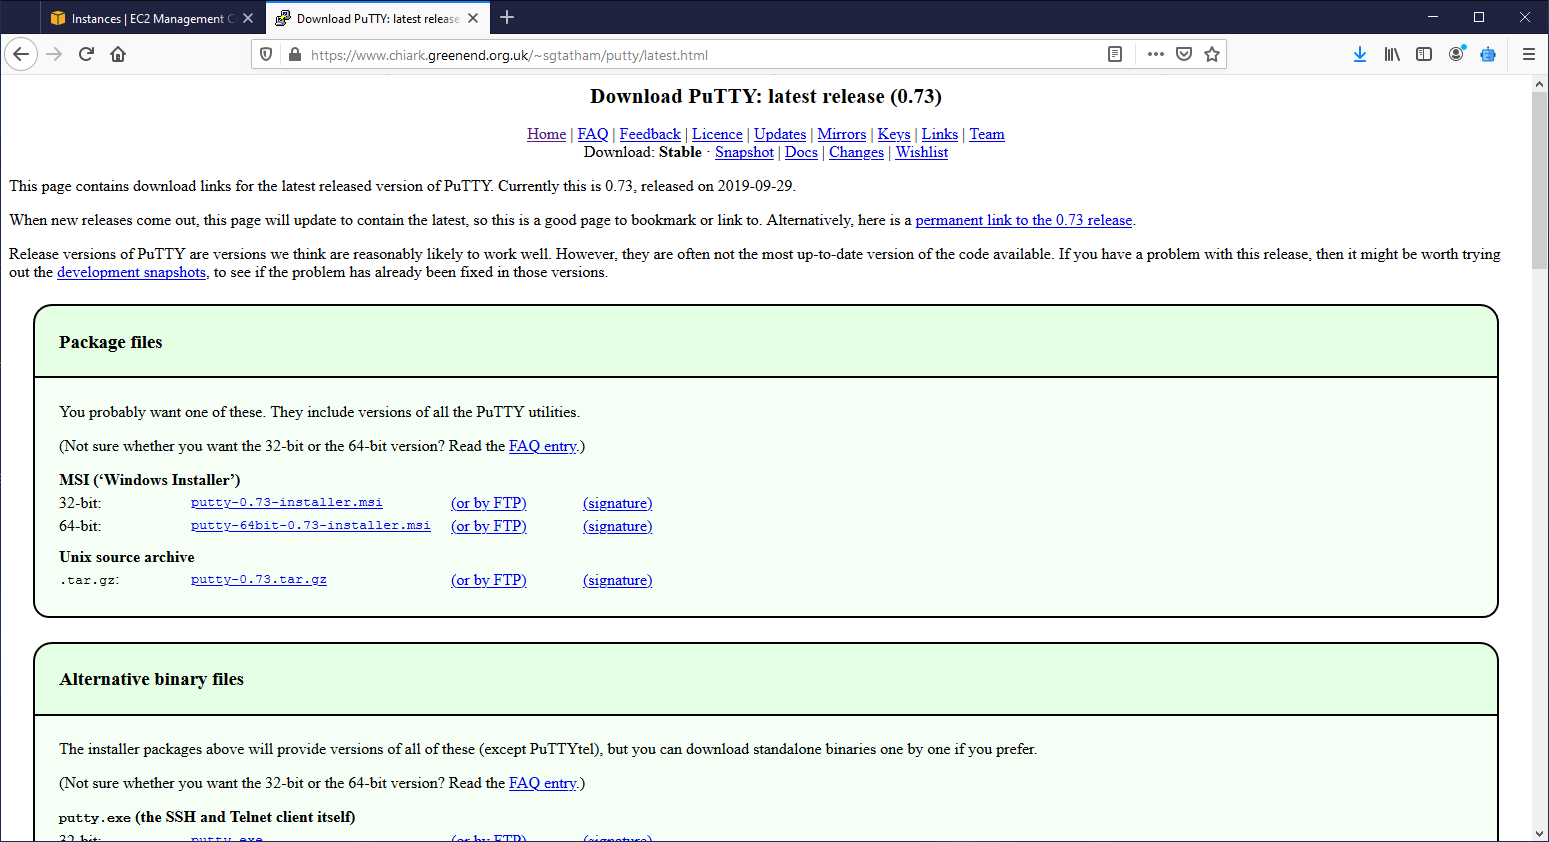
13. Lets go get putty from https://www.chiark.greenend.org.uk/~sgtatham/putty/latest.html. You need both the putty.exe (usually 64bit) and the puttygen as we have to extract the keyset for the machine.
14. Open up puttygen that you just downloaded and you will get this:
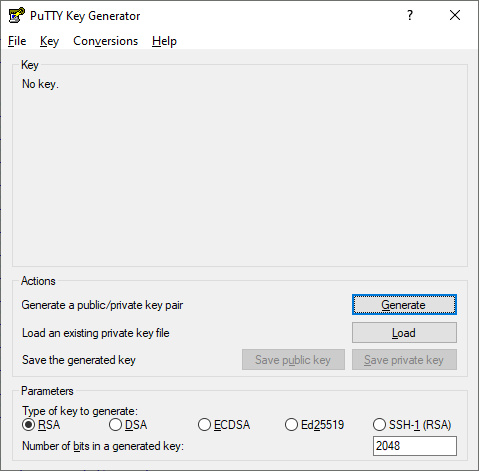
15. Hit the “load button” and then switch it from PuTTy Private Key Files (*.ppk) to all files (*.*)
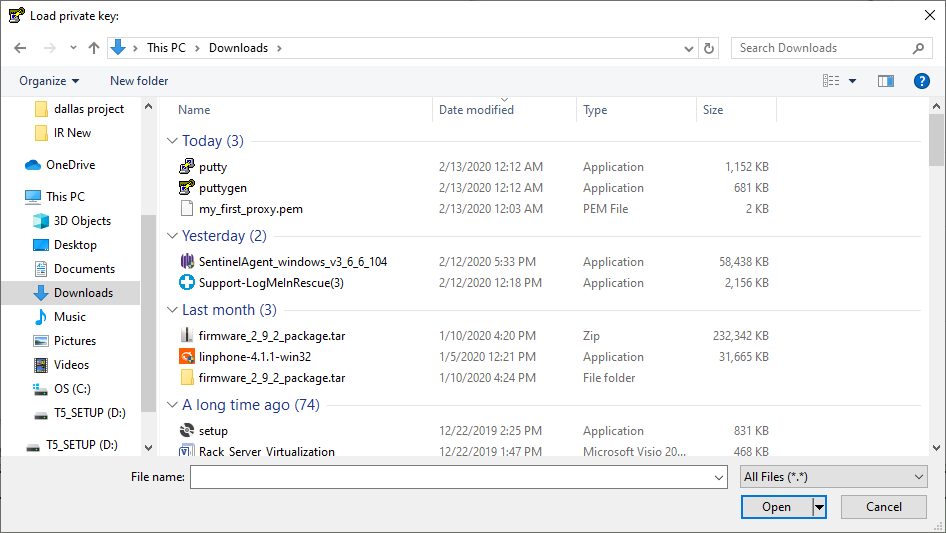
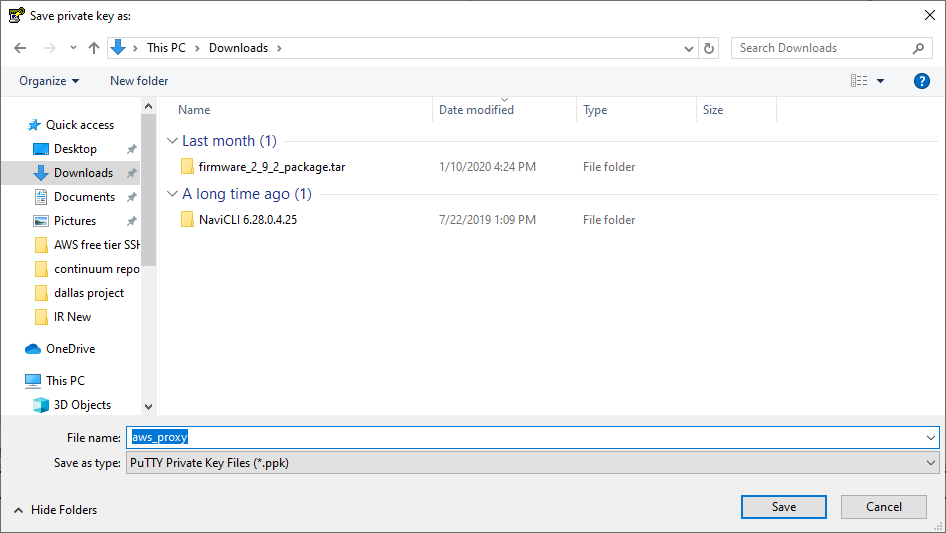
16. You will now get a page that looks like this with the string. Put in your key passphrase twice and hit “save private key” and give it an easy to remember name like “AWS_Proxy”

17. Save the file
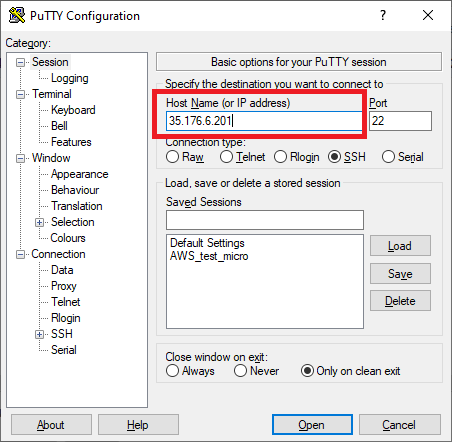
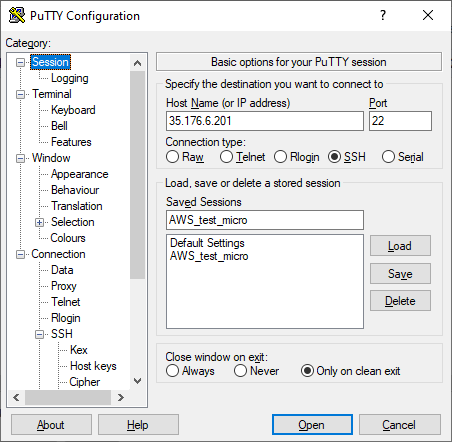
18. Now open putty and put in the IP address on the first page
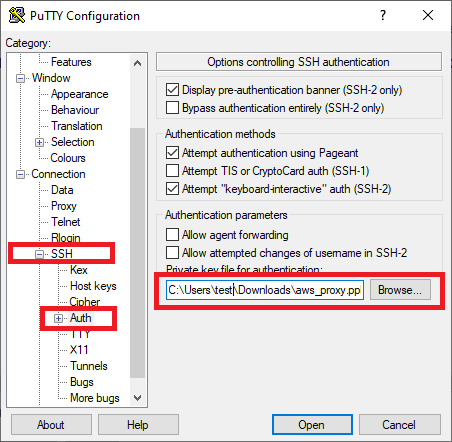
19. Then click the + SSH and click on “auth” and browse to the PPK you created
20. Now click on the “tunnels” the and lets create the tunnels:
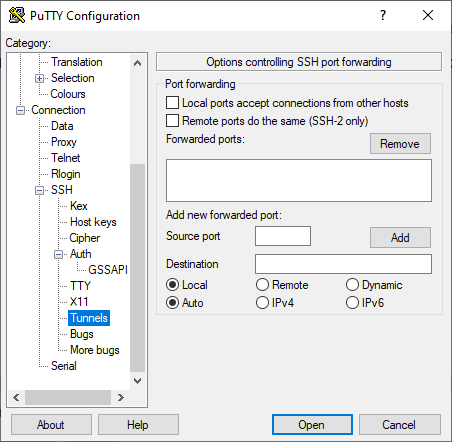
21. Type in a port (I used 31415) and set it to dynamic and then hit “add”
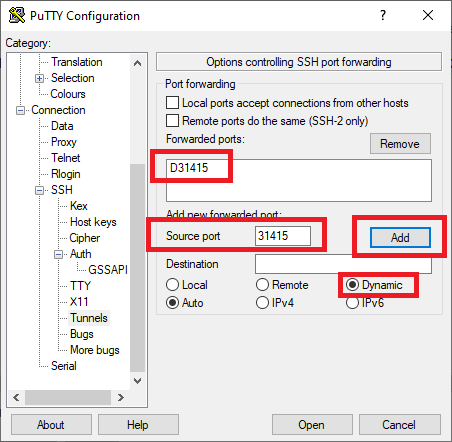
The port you created will now show up with D##### with whatever number port you selected
22. Now go to the first part “session” on the left and name it and save it:
23. You should now get a certificate warning so go ahead and hit “yes” or you cant proceed.

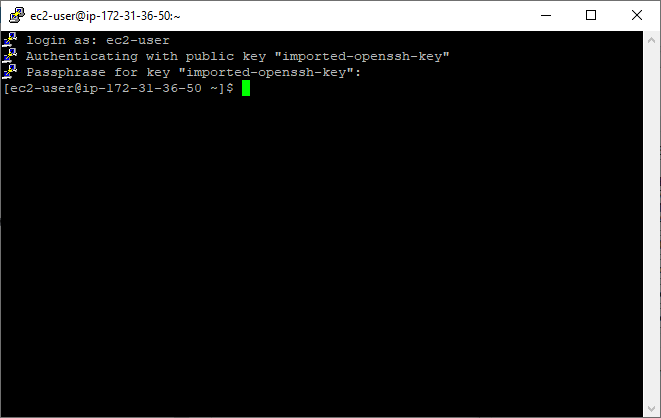
24. Put in “ec2-user” as the user. If you put in a passphrase back when you created it with puttygen then put that in as well:
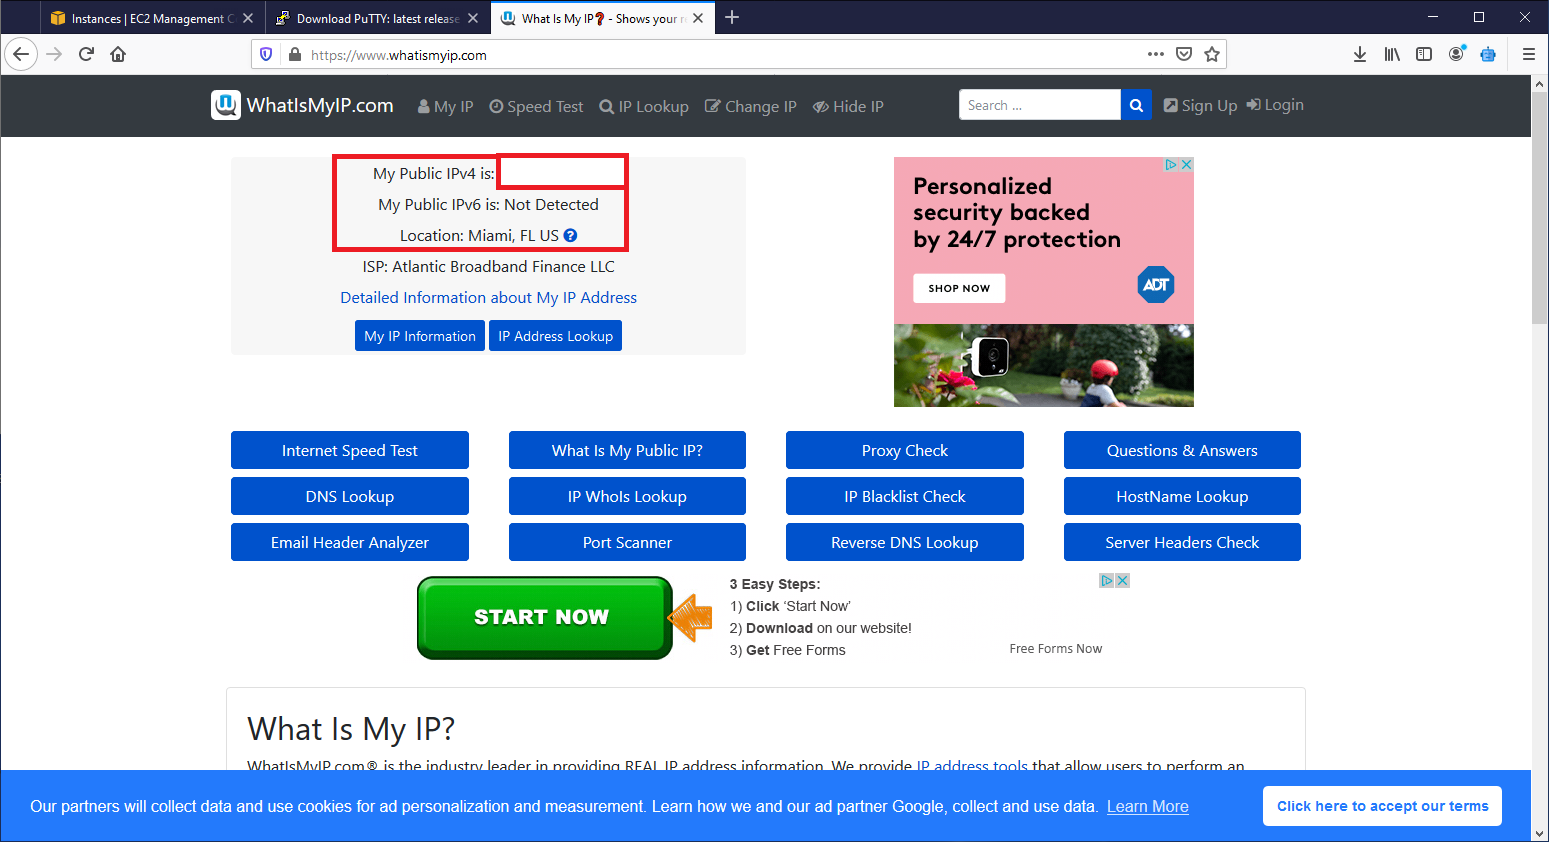
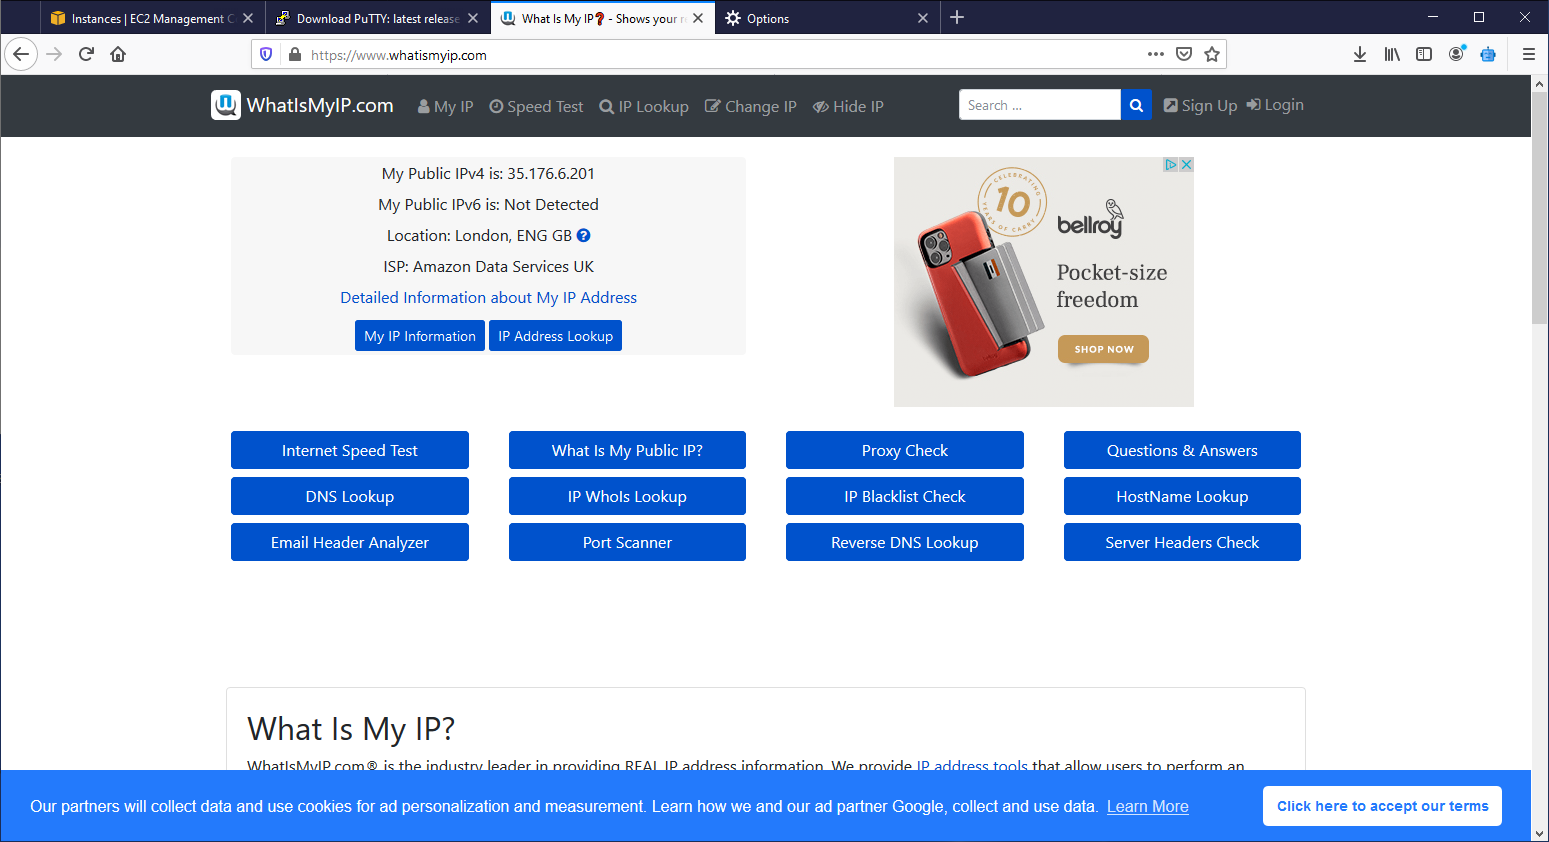
25. Now go to your browser again and visit whatismyip.com and you should have your IP listed.
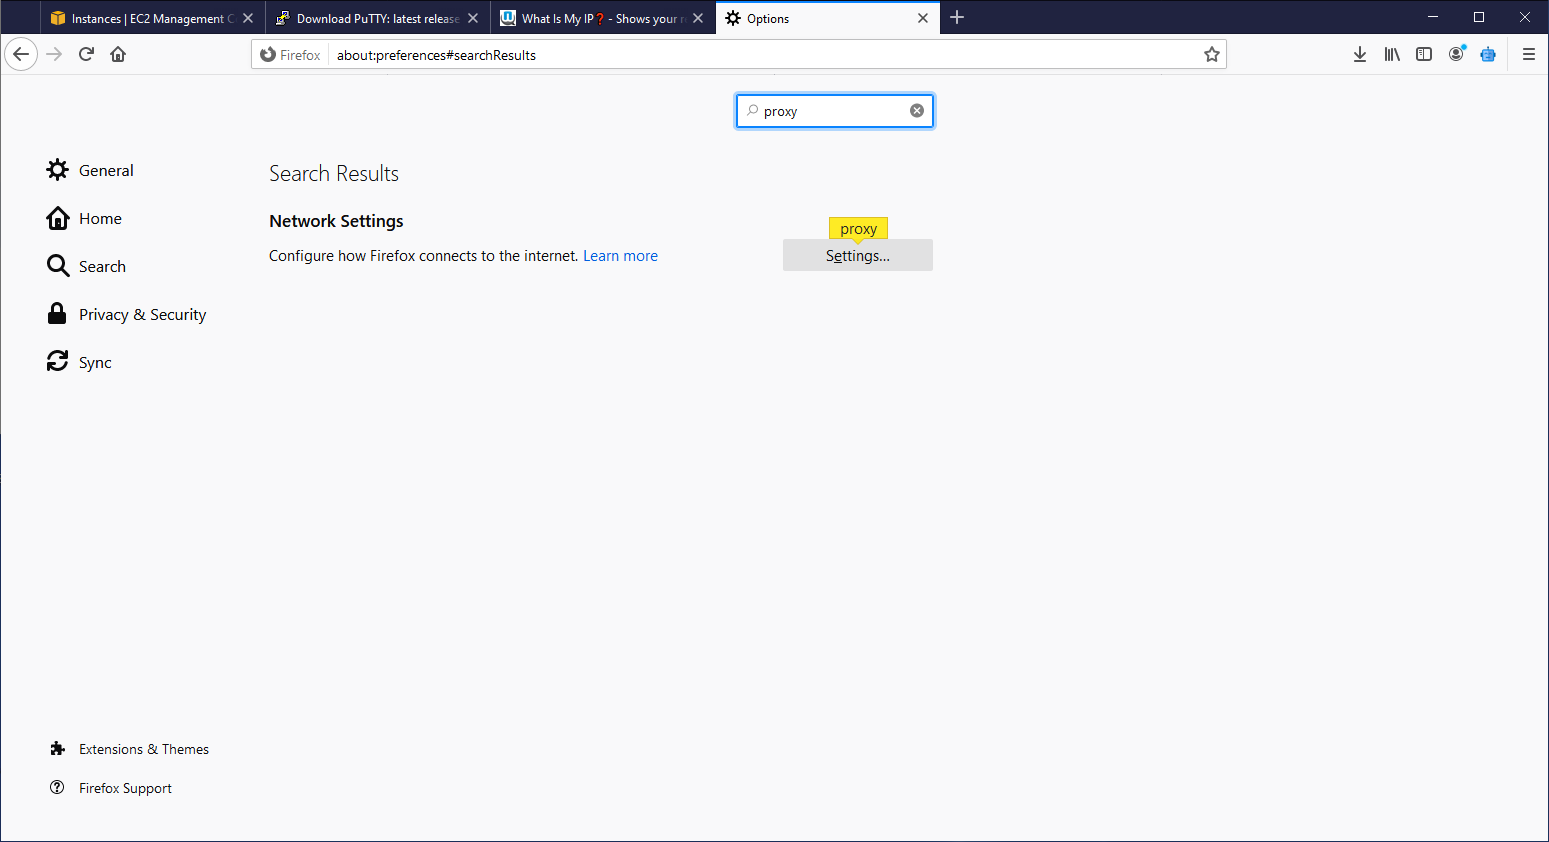
26. Open up your settings and search for proxy (I’m using Firefox in this example)
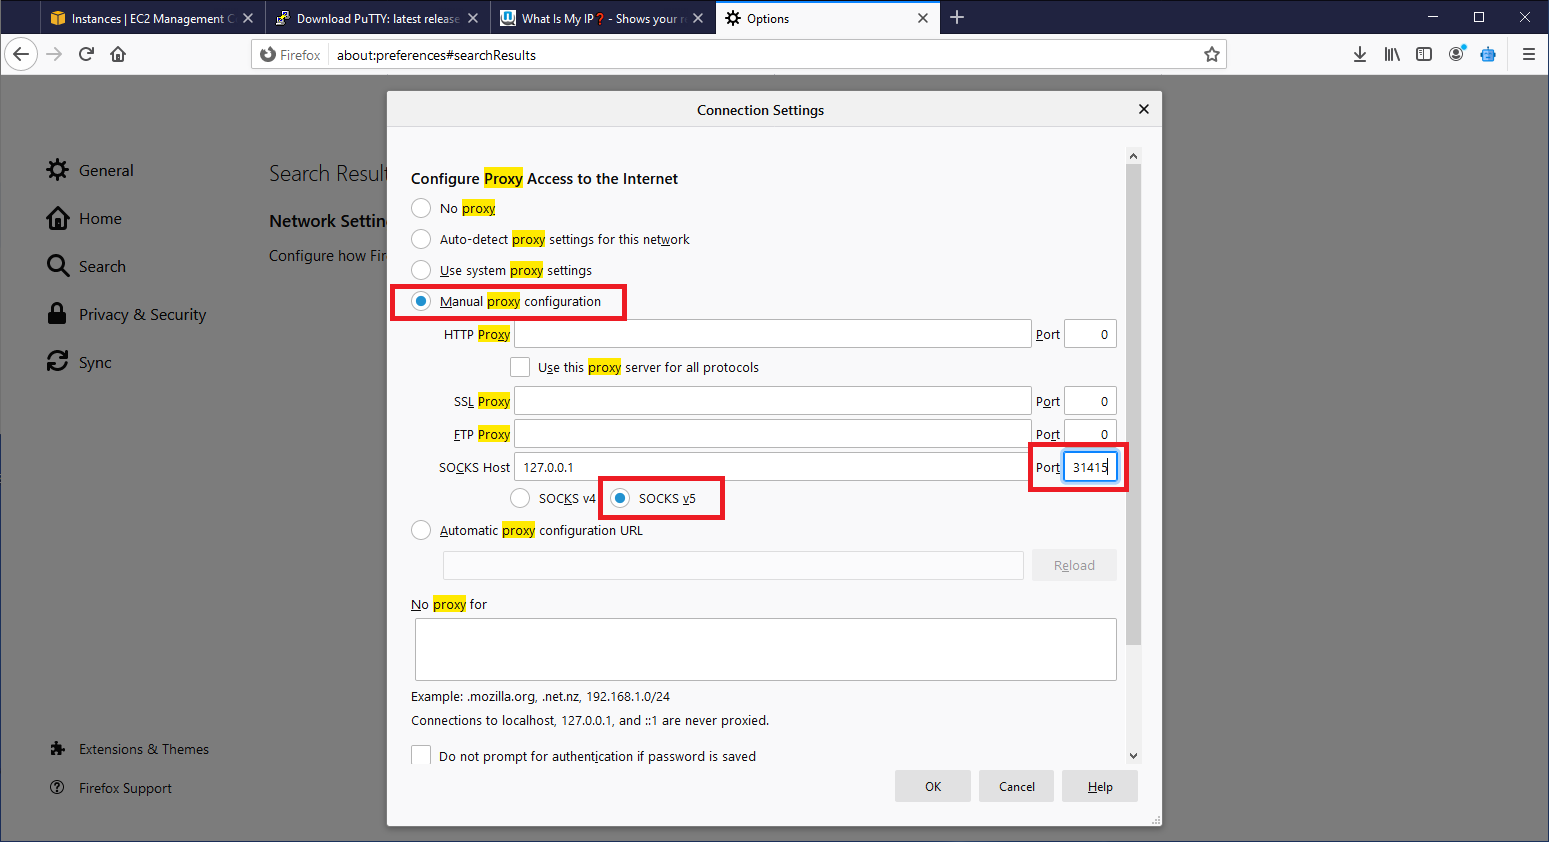
27. Then select “manual proxy configuration” and select the port number you used earlier (I used 31415):
28. Go back to your whatismyip.com page and refresh it and you should see you new browser page. Note that some things like youtube may not like going through this proxy
When you aren’t using your proxy make sure to disable it or your computer may get confused

